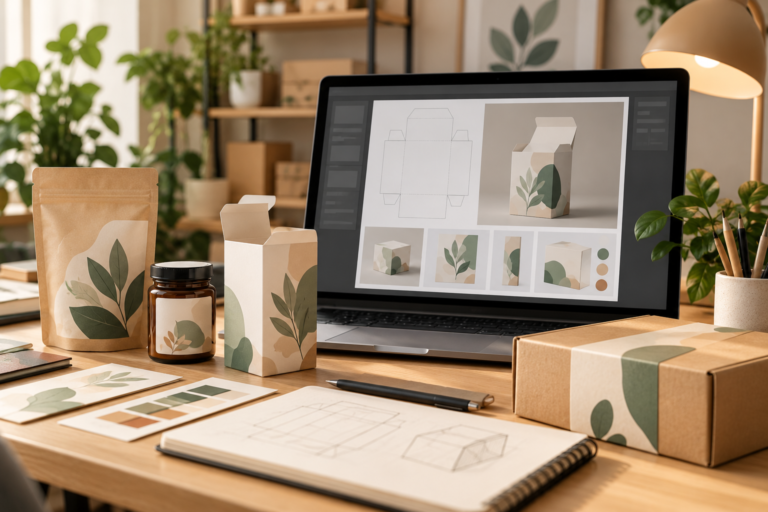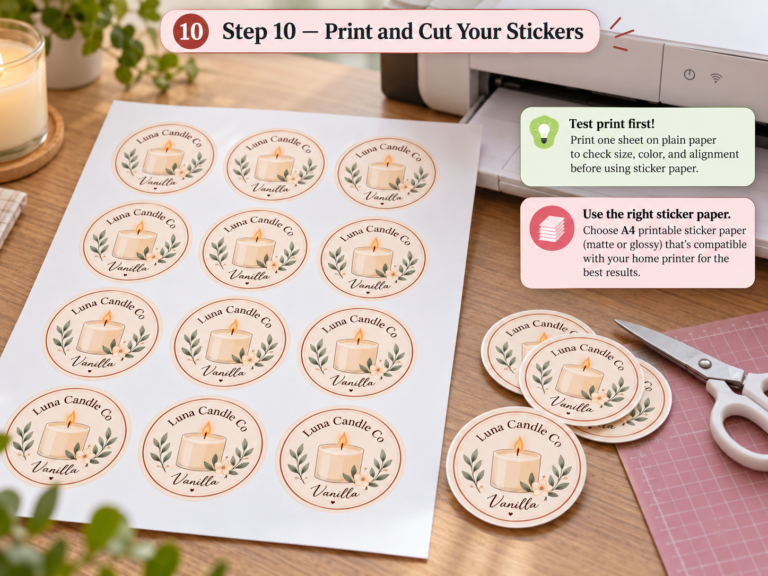

Printing your own product labels is easier when you treat the design, sheet layout, and printer settings as one job. A label can look perfect on screen and still print too small, miss the cut lines, or smear on the wrong material. This guide shows how to print product labels at home with Canva, with separate routes for full-sheet adhesive paper and pre-cut label sheets.
Quick answer: Measure the label area, design at the finished size, arrange the artwork on the correct Letter or A4 layout, and export a print-quality PDF. Print a plain-paper proof at 100% scale before loading compatible adhesive stock. For pre-cut sheets, use the exact label supplier’s template rather than a similar-looking layout.
What you need before you begin
- A printer whose manual permits your chosen label material.
- Inkjet, laser, or dual-compatible label sheets matched to that printer.
- A ruler, plain paper for testing, and scissors or a paper trimmer if using full-sheet stock.
- Canva for the artwork and, when needed, the label supplier’s layout tool.
- A sample of the real package where the label will be applied.
Already have a printer? Test it before buying another. If you need to compare equipment, start with our printers for color stickers and product labels. Candle businesses can also compare our best printers for candle labels, while businesses focused on barcodes, inventory, or shipping labels can see our best label makers for small business. Our printable sticker paper guide helps you compare materials, but always confirm compatibility for the exact stock you order.
1. Measure the label area and choose your paper
Measure the flat, usable area on the finished box, sleeve, or pouch. Keep the design away from folds and seams. Make a plain-paper rectangle first and place it on the package: this checks the proportions before you spend time on the artwork.
For the worked example, use a 3 × 1.5-inch rectangle (76.2 × 38.1 mm). This is an example size, not a recommended fit for every product. A simple thank-you seal is useful for practising the print workflow without adding product-specific information.
Choose one route:
- Full-sheet adhesive paper: You decide where the labels sit and cut them out after printing. This is the route for our example.
- Pre-cut label sheets: The positions are already fixed. Use the exact product number and template supplied for those sheets, including the spaces between labels and page margins.
Letter is 8.5 × 11 inches; A4 is 210 × 297 mm. Changing the printer menu alone does not turn a Letter design into an A4 layout. Use a document created for the paper you actually load.

2. Create one label design in Canva
Start a custom-size design using the finished label dimensions. For this example, enter 3 inches wide and 1.5 inches high. Add a short heading such as “Thank you” and a smaller supporting line. Keep the background white and leave generous space around the text; that makes a first print easier to check and uses less ink than a solid background.
Use readable type, strong contrast, and a simple hierarchy. Review the artwork at its physical printed size, not only enlarged on screen. A logo that looks sharp in a large preview can reveal rough edges in print if the source image is low resolution.
Do not squeeze every detail onto the front seal. Product information may need a separate panel. This printing tutorial and its thank-you labels are not substitutes for the information required for a particular product.
For more design context, see our Canva packaging design guide.
3. Turn one design into a printable sheet
Route A: Full-sheet adhesive paper
Create a second Canva design at the sheet size: 8.5 × 11 inches for Letter or 210 × 297 mm for A4. Place your label artwork on this page and check its physical dimensions again. Duplicating or importing an element can change its size, so do not assume it is still exactly 3 × 1.5 inches.
For this example, arrange two columns and five rows. Leave a 0.25-inch (6.35 mm) gap between columns and space between rows for cutting. Keep the whole layout inside the printer’s printable area. Thin, pale rectangular outlines can serve as cutting guides for this white-background example.
Maintain the same label dimensions in both page versions; adjust the outer space, not the size of the labels. Grouping each label’s text and graphics helps prevent accidental movement when duplicating the design.
Route B: Pre-cut sheets
Make one label in Canva, then place it in the matching supplier template. For Avery stock, Avery documents a Canva-to-Avery workflow: export the artwork, choose your exact Avery product number in Design & Print, and add the artwork to that layout. Check the preview before printing.
Do not use the ten-label example on a pre-cut sheet just because it also has ten labels. The label width, height, gaps, margins, and paper size all need to match.

4. Export the file and print a plain-paper proof
For a complete sheet design in Canva, use Share → Download → PDF Print. Export the sheet page you want to print. For this white-background, full-sheet example, leave added crop marks and bleed off so they do not change the intended page layout. If you use a supplier’s template or print-to-the-edge stock, follow that supplier’s export and bleed instructions instead.
Open the exported PDF and check the page dimensions. In the print dialog, match the paper size, choose Actual Size or 100%, and use single-sided printing. Disable automatic “Fit” or “Shrink” options for the scale test. Choose the media setting recommended by your printer and label-stock instructions; there is no one paper setting that fits every machine.
Print on plain paper first. Measure a label outline with a ruler: the example should be exactly 3 × 1.5 inches. If it is smaller or larger, correct scaling before you spend adhesive paper. For pre-cut stock, hold the proof against an unused label sheet to check alignment.

5. Print one adhesive sheet and test it on the package
Follow the printer manual for the feed tray, sheet orientation, and supported media. A marked plain-paper test can help you identify which side gets printed. Use flat, undamaged stock and keep the backing intact.
Print one sheet. Let ink dry according to the media instructions before stacking, cutting, or rubbing it. Apply one finished label to a clean, dry sample package and check the result after the adhesive’s recommended bonding time.
Inspect the smallest lettering, cutting edges, and corners. Does the label stay attached on the actual surface? Does ordinary handling mark the print? Record the paper, print settings, and results so you can reproduce a successful batch. A home sample test does not establish a waterproof claim.
For material considerations specific to soap, see our soap label printer guide. For candle jars, use our candle-label printing walkthrough.

Why are my labels printing incorrectly?
- Every label is too small: Check for page fitting or shrinking and confirm the PDF’s page size.
- The top row aligns but lower rows drift: Check the template, paper size, scaling, and spacing before moving each label individually.
- The whole sheet is shifted: Check loading and the supplier’s alignment controls, then print another plain-paper proof.
- Text or edges are missing: Move the design inside the printer’s printable area and keep important content away from trim lines.
- Ink smears: Confirm inkjet/laser compatibility, the recommended media setting, and drying instructions.
For diagrams that distinguish scaling problems from a uniform offset, consult the OnlineLabels alignment guide. Change one setting at a time and keep the last successful proof.
Free printable practice labels: Letter and A4
Practise with ten ready-to-print thank-you seals, each 3 × 1.5 inches. Page 1 is the label sheet; page 2 contains instructions and a one-inch scale check. Print page 1 on full-sheet adhesive paper and cut along the pale outlines. These fixed PDFs are not editable Canva templates and do not fit a pre-cut supplier template.
Download US Letter labels (PDF) · Download A4 labels (PDF)
You may use the finished labels on your own business packaging for free. Do not resell or redistribute the PDF. Share this article instead.
If you are still choosing the machine itself, compare our best product label printers for small business for sheet-fed inkjet, compact color roll, and higher-volume label workflows.
Frequently asked questions
Can I use a regular home printer?
Often, yes, provided its manual supports the label stock and sheet size. Full-color inkjet printing and monochrome direct-thermal shipping labels are different workflows; buy materials for the technology you actually own.
Do I need a cutting machine?
No. Simple rectangles on full-sheet stock can be cut with scissors or a suitable trimmer. Pre-cut sheets avoid manual cutting when your artwork matches their template.
Do I need Canva Pro?
This simple white-background layout does not depend on premium artwork or a transparent background. Use elements available in your account and check the export options shown there. Avoid making a paid feature necessary for a basic print test.
Should I choose Letter or A4?
Choose the file that matches your adhesive paper and printer settings. U.S. Letter is common for U.S. sheet-label workflows, but read the pack rather than assuming. Never scale one version to fit the other.
Can I print waterproof labels this way?
The layout process does not make labels waterproof. Durability depends on the printer, ink or toner, coating, adhesive, and use conditions. Ask the stock supplier about the complete printing combination before promising water resistance.
Start with one sheet: prove the size on plain paper, test one adhesive label on the package, and save the successful settings. That small routine is more useful than repeatedly changing the design to compensate for a mismatched template.
Further reading: Avery home-label printing guidance. This tutorial describes a workflow; it does not claim that a physical printer test was performed for this article.